There is a very Simple way to Create a List of Installed Programs on Windows. This is very useful since reinstalling the Windows Operating System is a good way to fix serious problems with your computer, or just to get a fresh slate. But before you reinstall Windows, you should make a list of programs you currently have installed on your PC. This is so that you know what you want to reinstall on the new system.
Having a list of installed programs is also useful if you just bought a new computer. But you want to install the same programs you had on your old computer. Here are a few different methods for doing so on Windows 10, 8/8.1, and 7.
Use a Simple way to Create a List of Installed Programs on Windows: Via PowerShell Command
PowerShell is one of the most powerful things built into Windows. So of course it can do something as simple as list your installed programs. In fact, all you need is one command, which you can copy and paste right from this page.
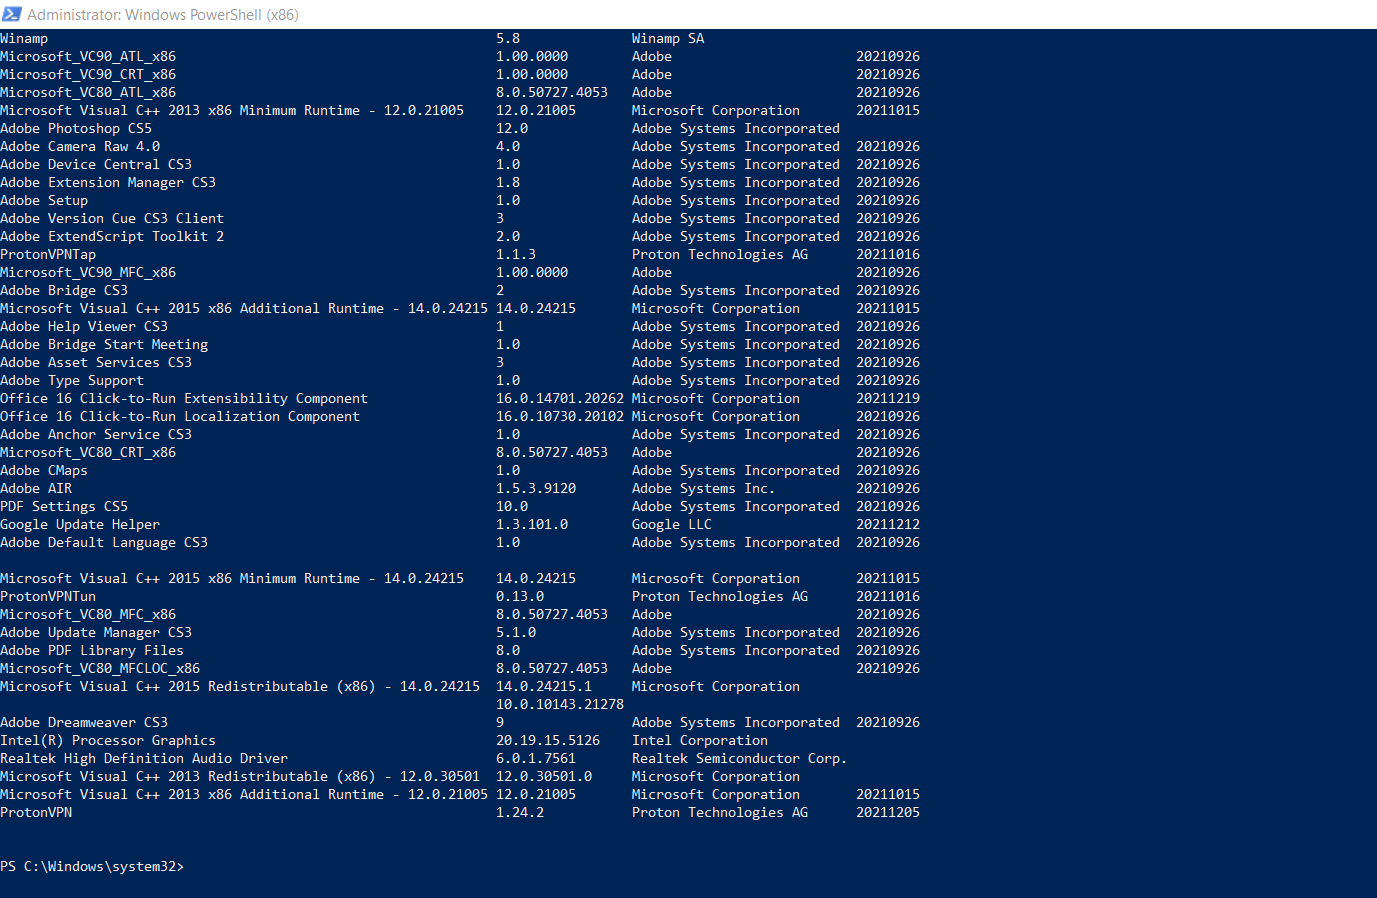
First, open PowerShell by clicking on the Start menu and typing “powershell”. Select the first option that comes up and you’ll be greeted with an empty PowerShell prompt.
Copy and paste the following command, pressing Enter when you’re done:
Get-ItemProperty HKLM:\Software\Wow6432Node\Microsoft\Windows\CurrentVersion\Uninstall\* | Select-Object DisplayName, DisplayVersion, Publisher, InstallDate | Format-Table –AutoSize
PowerShell will give you a list of all your programs. This list is complete with the version, name of the developer, and even the date you installed it.

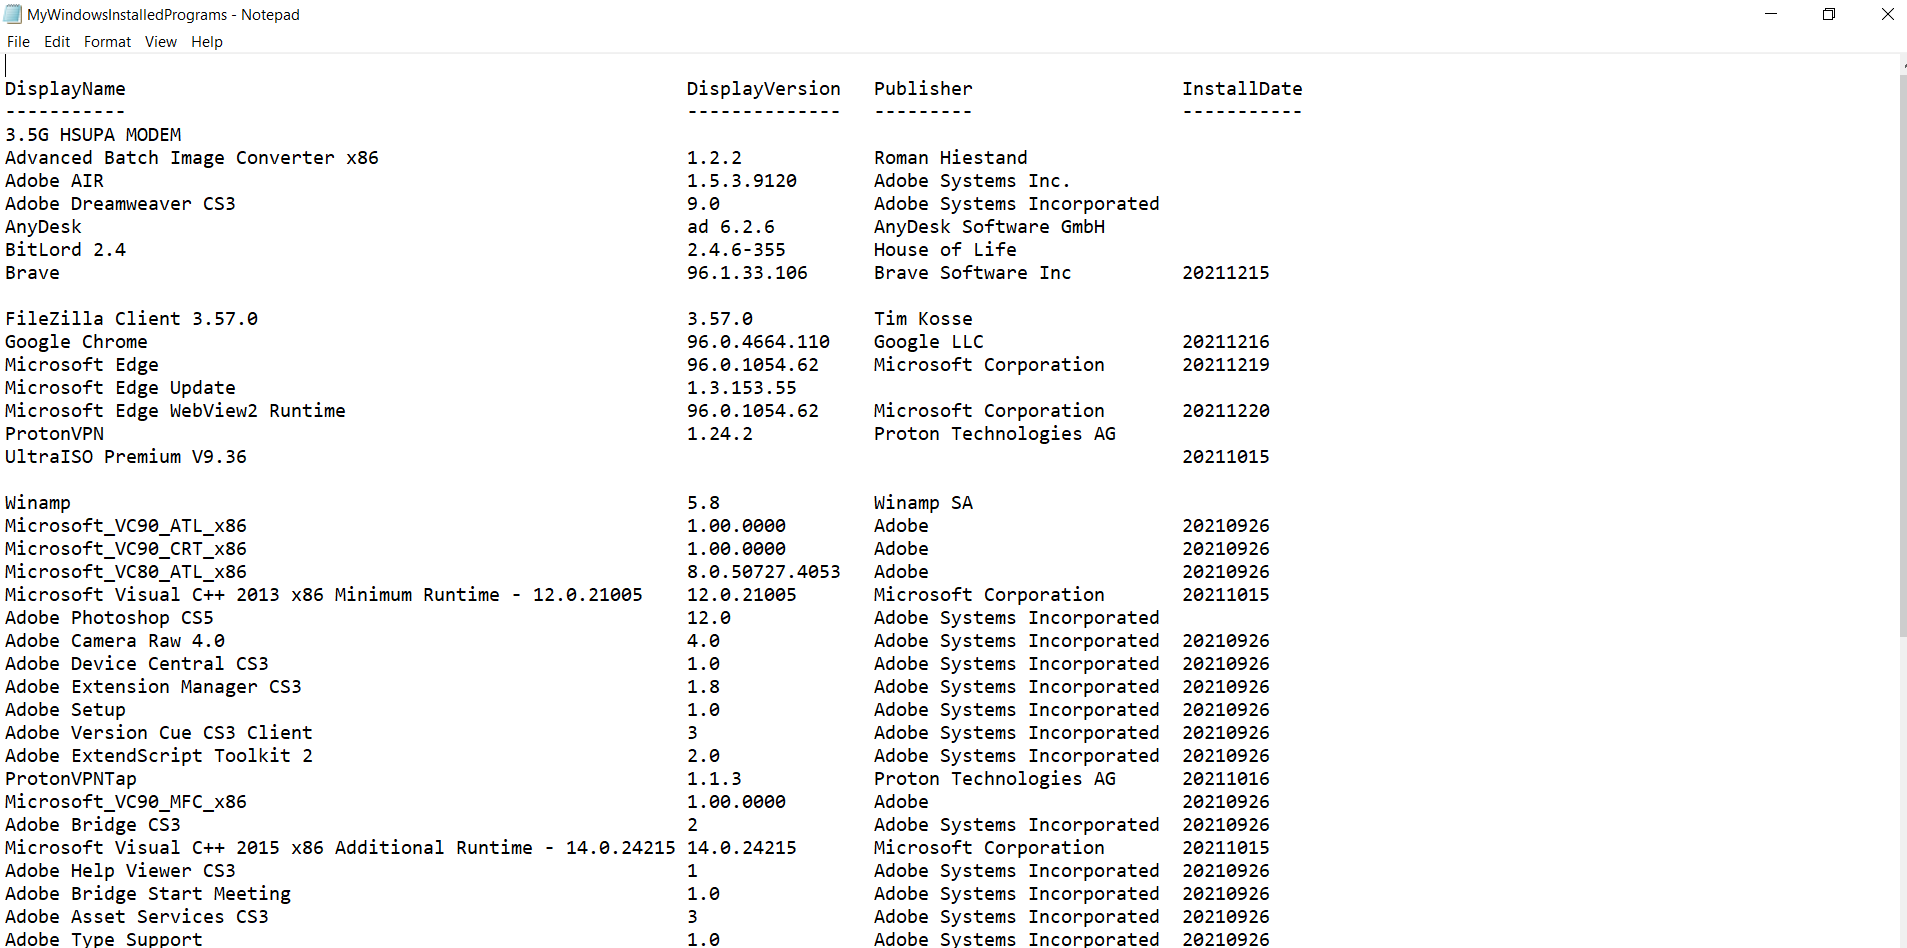
You will probably want to export that to a file though, which is also easy enough. You can just send the output using the > symbol and adding the path to a new text file that you want to create. For example:
Get-ItemProperty HKLM:\Software\Wow6432Node\Microsoft\Windows\CurrentVersion\Uninstall\* | Select-Object DisplayName, DisplayVersion, Publisher, InstallDate | Format-Table –AutoSize > C:\Users\Admin\Documents\MyWindowsInstalledPrograms.txt
You should obviously, replace C:\Users\Admin\Documents\MyWindowsInstalledPrograms.txt with the path and name you want to use for your file.
What makes using PowerShell really neat is that if you do this on two different machines. You can easily compare the software installed on them. Just take your two text files and add them to this command:
Compare-Object -ReferenceObject (Get-Content C:\Users\Admin\Documents\MyPCapps.txt) -DifferenceObject (Get-Content C:\Users\Admin\Documents\MyLaptopapps.txt)
In this example, one text file has programs from my PC, and the other has programs from my laptop. Any entries with a side indicator pointing to the right (=>) mean that the software is installed on my laptop but not on my PC, and any entries with a side indicator pointing to the left (<=) mean that the software is installed on my PC but not on my laptop.